Getting Started with OpenShift 4.4
"You down with OCP? Yeah you know me!" OCP in this case is the OpenShift Container Platform. I think it's best described as an Enterprise Distribution of Kubernetes, much like RHEL is an Enterprise Distribution of Linux. If you're like me and have been working with Kubernetes for awhile, you may be wondering why you would need an Enterprise Distribution like OpenShift. I decided to answer that question by trying out OpenShift for the first time this week, setting up a single node development cluster on my laptop - read along and share your thoughts in the comments!
Why bother?
Full disclosure - I work for IBM (who now owns RedHat). I have no involvement with OpenShift in my daily work, and any opinions expressed here are my own and do not represent my employer in anyway. I will say that while I have known of OpenShift for as many years as I have been working with Kubernetes (K8s) I have, to date, deliberately avoided it. I've always thought of it as a simplified bundle of K8s and some proprietary stuff and since I already knew K8s, why bother? I've certainly heard more about it recently, and I am finally curious enough to take a look.
An OpenShift by another name
The first thing I noticed is the confusing array of names - OpenShift, OCP, CRC, OpenShift Origin, OpenShift Dedicated, OpenShift Kubernetes Engine, etc. This coupled with the dizzying number of (mostly deprecated) options for running a local instance make it really difficult to get started. Seriously, do a quick search online and you'll find plenty of references to old versions and complicated setups involving VMWare workstation or VirtualBox. This is just one of those areas of tech that is growing and changing rapidly, and unfortunately that makes it difficult to know where to begin. By comparison, in Docker Desktop you only have to select 'Enable Kubernetes' from the menu and you're up and running with a local K8s cluster.
For this post, I've decided to use the following:
- OpenShift Container Platform (OCP) version 4.4
- A local, single node cluster using RedHat CodeReady Containers (CRC) version 1.10
- Windows 10 with Hyper-V
Prereqs
Before getting started, you should have Hyper-V enabled on Windows 10. If you don't, go ahead and enable it and reboot. I'll wait.
From PowerShell, run:
Enable-WindowsOptionalFeature -Online -FeatureName Microsoft-Hyper-V -All
Next, you'll need to download a copy of RedHat CodeReady Containers. You can download from a mirror link on the GitHub releases page, however you will still need a free RedHat account to get everything working. This is the sort of thing I usually avoid.
In fact, I spent years avoiding the sign-up form to download Docker Desktop because I dislike registration protected downloads so much. In this case, a RedHat account is used to generate a set of Docker image registry credentials. I suppose you can't really call yourself an Enterprise product if your registry doesn't require authentication...
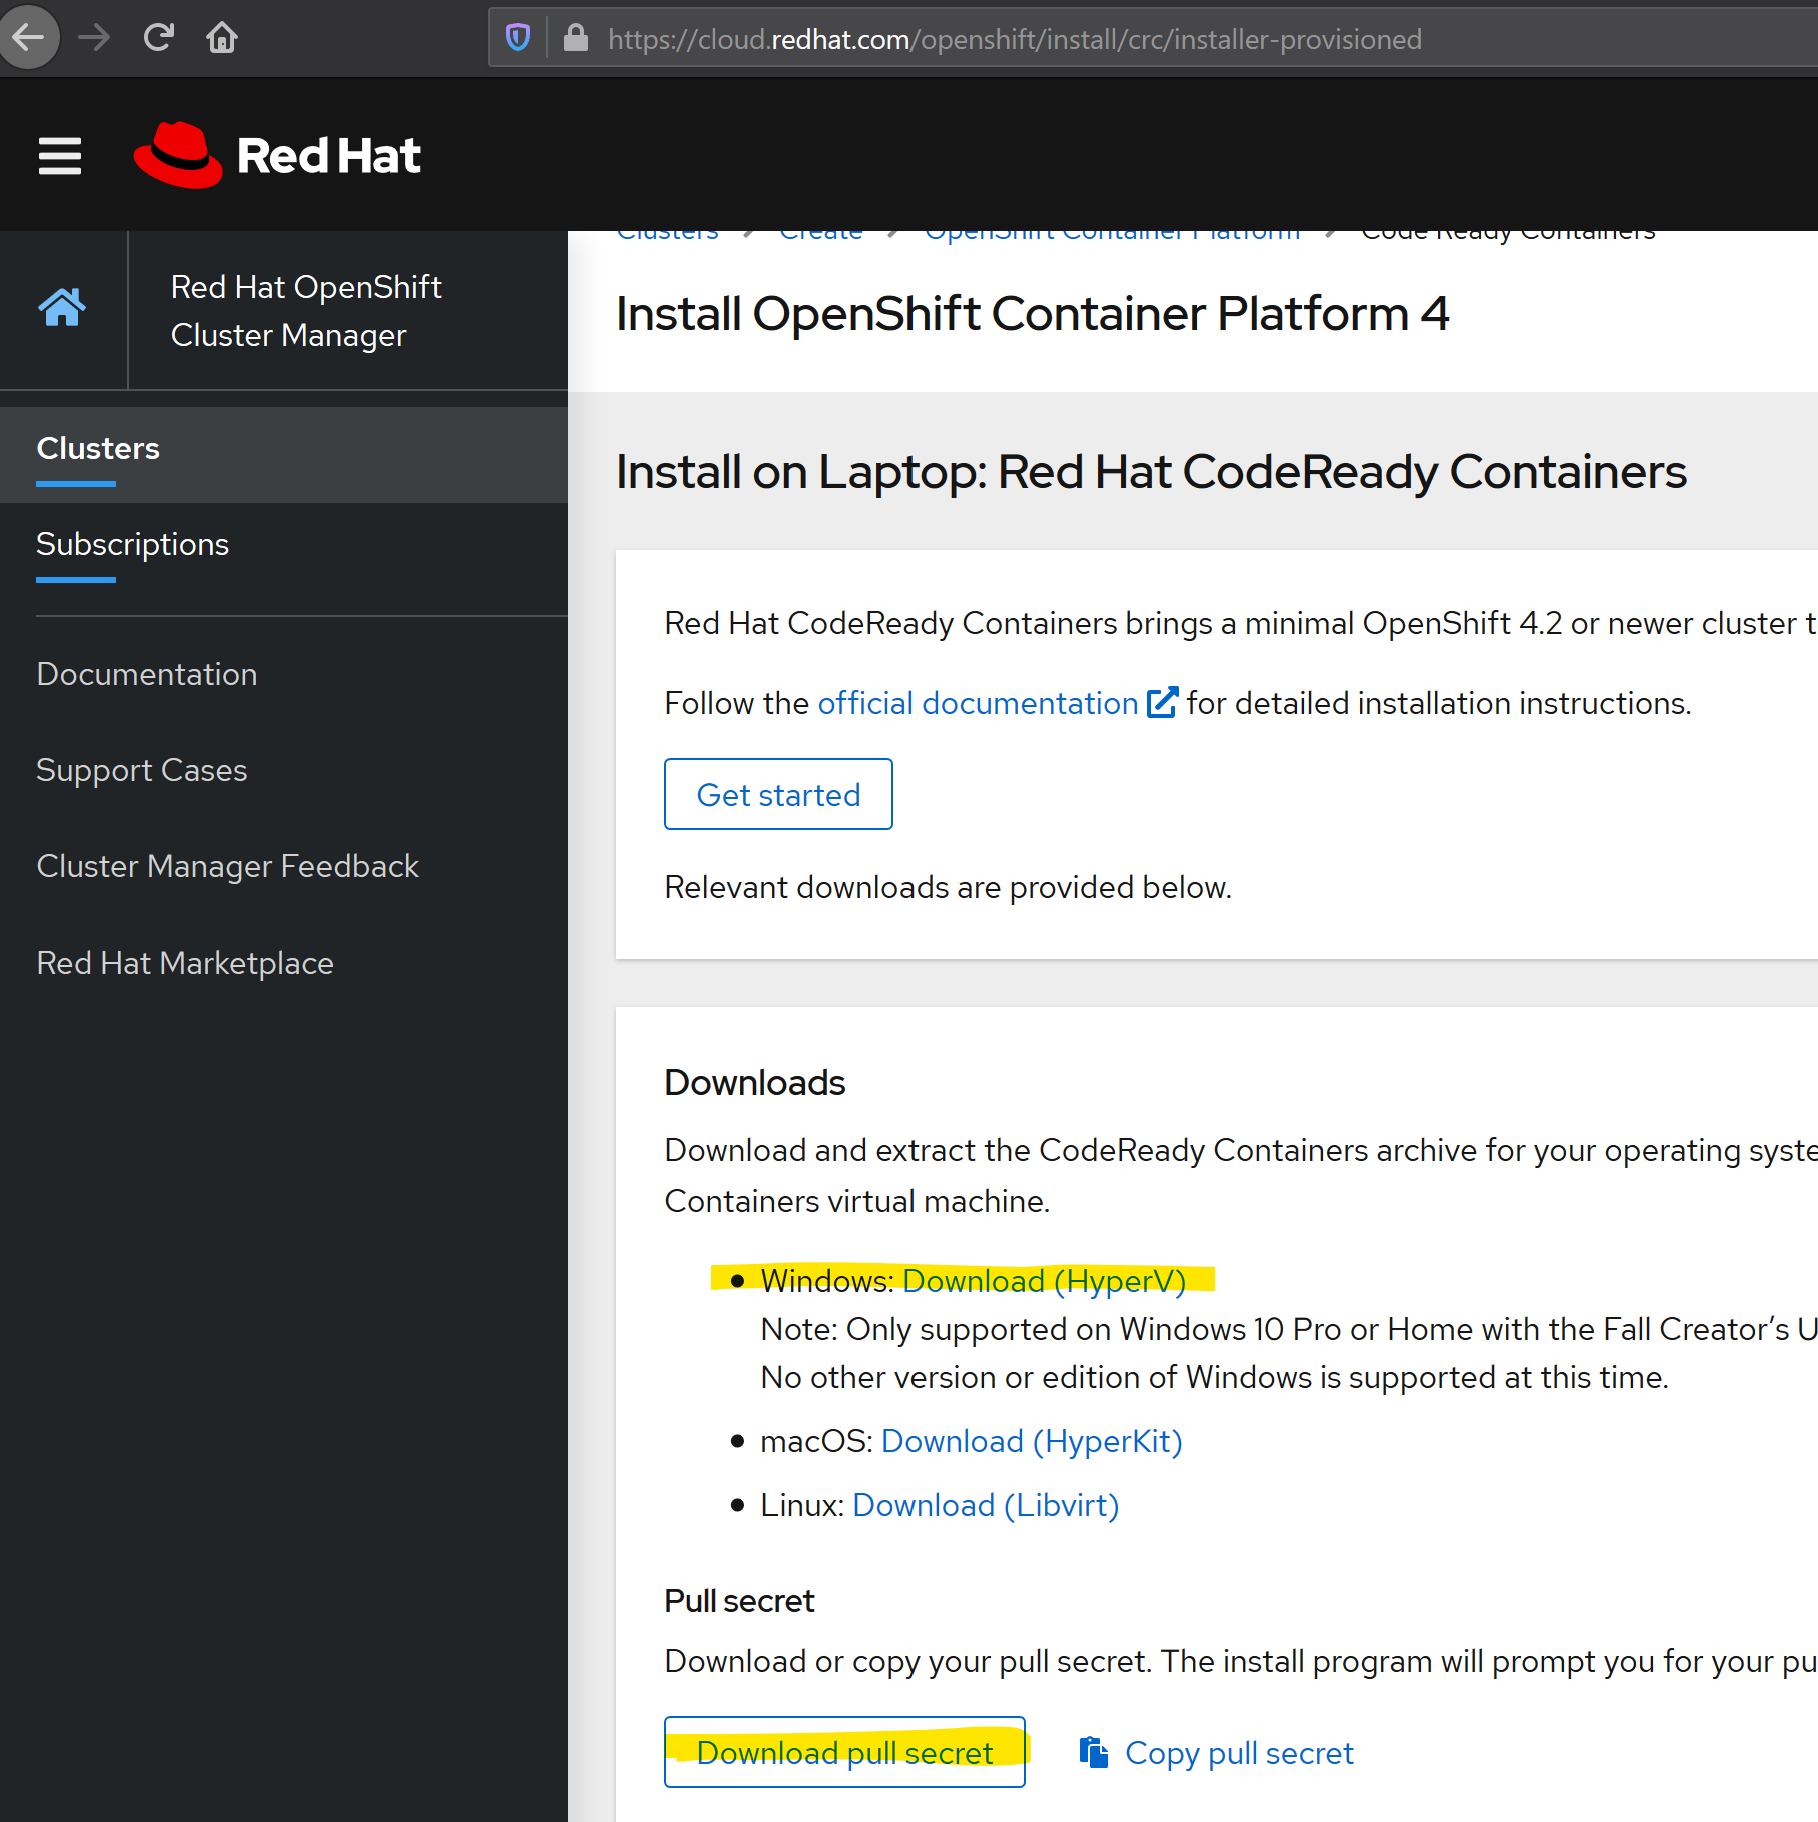
I suggest starting here to sign-up (or sign-in to an existing account) and access the downloads. On this page, download two things:
- The correct archive for your OS. It's approximately 2GB so may take some time.
- The pull secret. Download this to a file. It's the Docker registry credentials you'll need to get started

Setup and start
What you have now is a 2GB self extracting exe that will create a Hyper-V virtual machine on your computer with OCP installed. Start by unzipping the downloaded archive. Then open a command prompt (NOT as administrator) and run:
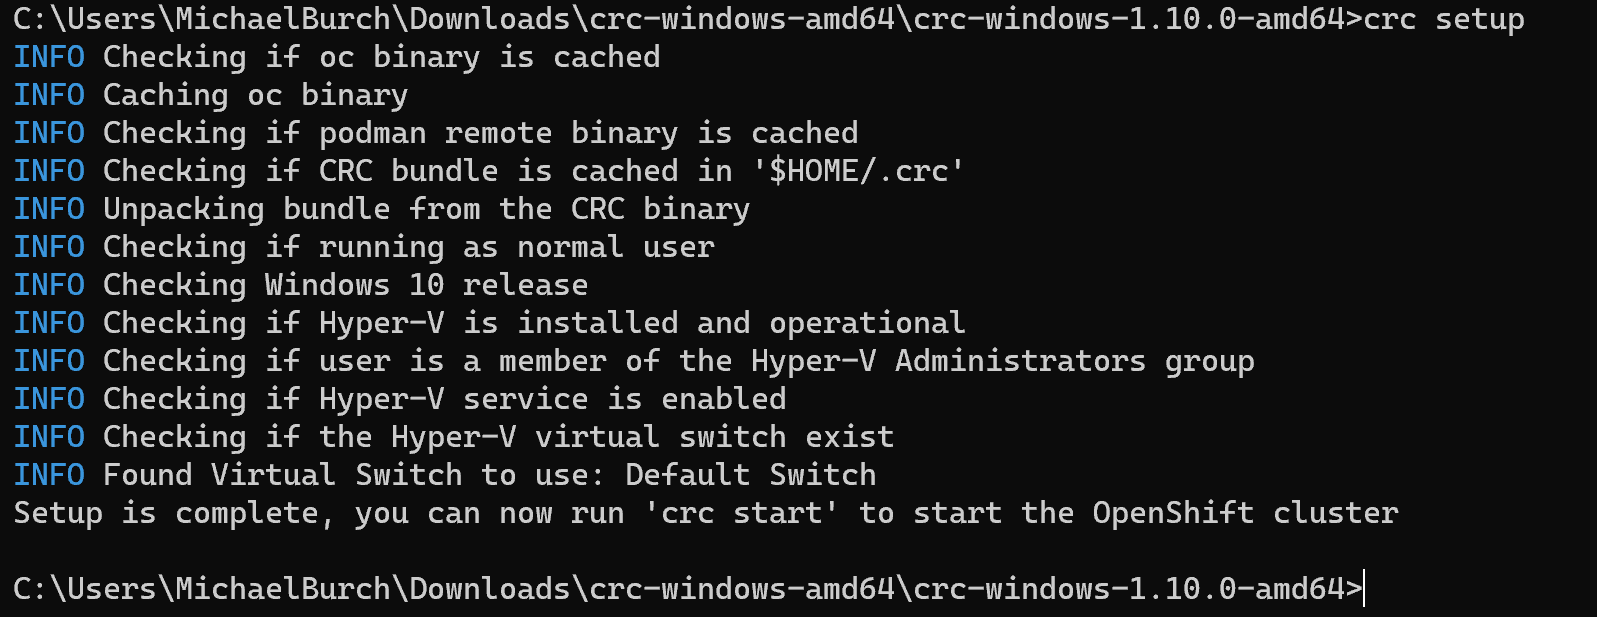
crc setup
You should see output like the following:

Next, you need to configure the location of your pull secret file. I downloaded mine to my default downloads directory so I ran
crc config set pull-secret-file c:\Users\MichaelBurch\Downloads\pull-secret
followed by the start command
I have specified a nameserver for the VM to use for external DNS. This seems to be a known issue, and I have had trouble without it so I recommend specifying one of your choice.
crc start -n 8.8.8.8
Unfortunately, after about 5 minutes I got this error:
INFO Verifying validity of the cluster certificates ...
INFO Adding 8.8.8.8 as nameserver to the instance ...
INFO Will run as admin: add dns server address to interface vEthernet (Default Switch)
INFO Check internal and public DNS query ...
WARN Failed public DNS query from the cluster: ssh command error:
command : host -R 3 quay.io
err     : Process exited with status 1
output  : quay.io has address 54.152.57.199
quay.io has address 34.225.79.222
INFO Check DNS query from host ...
ERRO Failed to query DNS from host: lookup api.crc.testing: no such host
Troubleshooting
It turns out that OpenShift uses two domains, .crc.testing and .apps-crc.testing. The first is for the OpenShift API server and the second is a convenient name for exposed applications running in the cluster. OpenShift calls these "Routes", which is similar to an Ingress resource in Kubernetes. This is a nice feature, but it requires that the host computer (my laptop in this case) can resolve names in those domains. The OpenShift VM is the DNS server for the domains, and I can see that this DNS server was added to an interface on my laptop. Unfortunately, it has a much higher interface metric and will never actually be consulted for name resolution.
Windows exposes the Name Resolution Policy Table (NRPT) for just this reason. What I decided to do is add an entry into the NRPT for each of these domains, telling my laptop to resolve names in these domains using the DNS server running in the OpenShift VM.
#Remove any NRPT rules for testing domains
Get-DnsClientNrptRule | ? {$_.namespace -like '*.testing'} | Remove-DnsClientNrptRule -Force

#Add rule, using first available IP of crc vm
Add-DnsClientNrptRule -Namespace ".crc.testing" -NameServers  (get-vm -Name crc).NetworkAdapters[0].IPAddresses[0]

#Add rule, using first available IP of crc vm
Add-DnsClientNrptRule -Namespace ".apps-crc.testing" -NameServers (get-vm -Name crc).NetworkAdapters[0].IPAddresses[0]
Another problem is that when the 'crc start' command failed, it exited without cleaning up. Now I have a broken OpenShift cluster and need to start fresh. Thankfully, they've made this very easy:
C:\Users\MichaelBurch\Downloads\crc-windows-amd64\crc-windows-1.10.0-amd64>crc delete
Do you want to delete the OpenShift cluster? [y/N]: y
(crc) Waiting for host to stop...
Deleted the OpenShift cluster
I did report this problem, hopefully the OpenShift/CRC team will provide an official fix rather than my quick workaround. You can follow the status of the issue here https://github.com/code-ready/crc/issues/1193
If at first you don't succeed...
Now I can start it back up. Here's what a good result looks like:
C:\Users\MichaelBurch\Downloads\crc-windows-amd64\crc-windows-1.10.0-amd64>crc start -n 8.8.8.8
...
INFO Adding 8.8.8.8 as nameserver to the instance ...
INFO Will run as admin: add dns server address to interface vEthernet (Default Switch)
INFO Check internal and public DNS query ...
WARN Failed public DNS query from the cluster: ssh command error:
command : host -R 3 quay.io
err     : Process exited with status 1
output  : quay.io has address 23.20.49.22
INFO Check DNS query from host ...
INFO Generating new SSH key
INFO Copying kubeconfig file to instance dir ...
INFO Starting OpenShift kubelet service
INFO Configuring cluster for first start
INFO Adding user's pull secret ...
INFO Updating cluster ID ...
INFO Starting OpenShift cluster ... [waiting 3m]
INFO
INFO To access the cluster, first set up your environment by following 'crc oc-env' instructions
INFO Then you can access it by running 'oc login -u developer -p developer https://api.crc.testing:6443'
INFO To login as an admin, run 'oc login -u kubeadmin -p jh3kL-Te6cD-BKDG7-3rvSu https://api.crc.testing:6443'
INFO
INFO You can now run 'crc console' and use these credentials to access the OpenShift web console
Started the OpenShift cluster
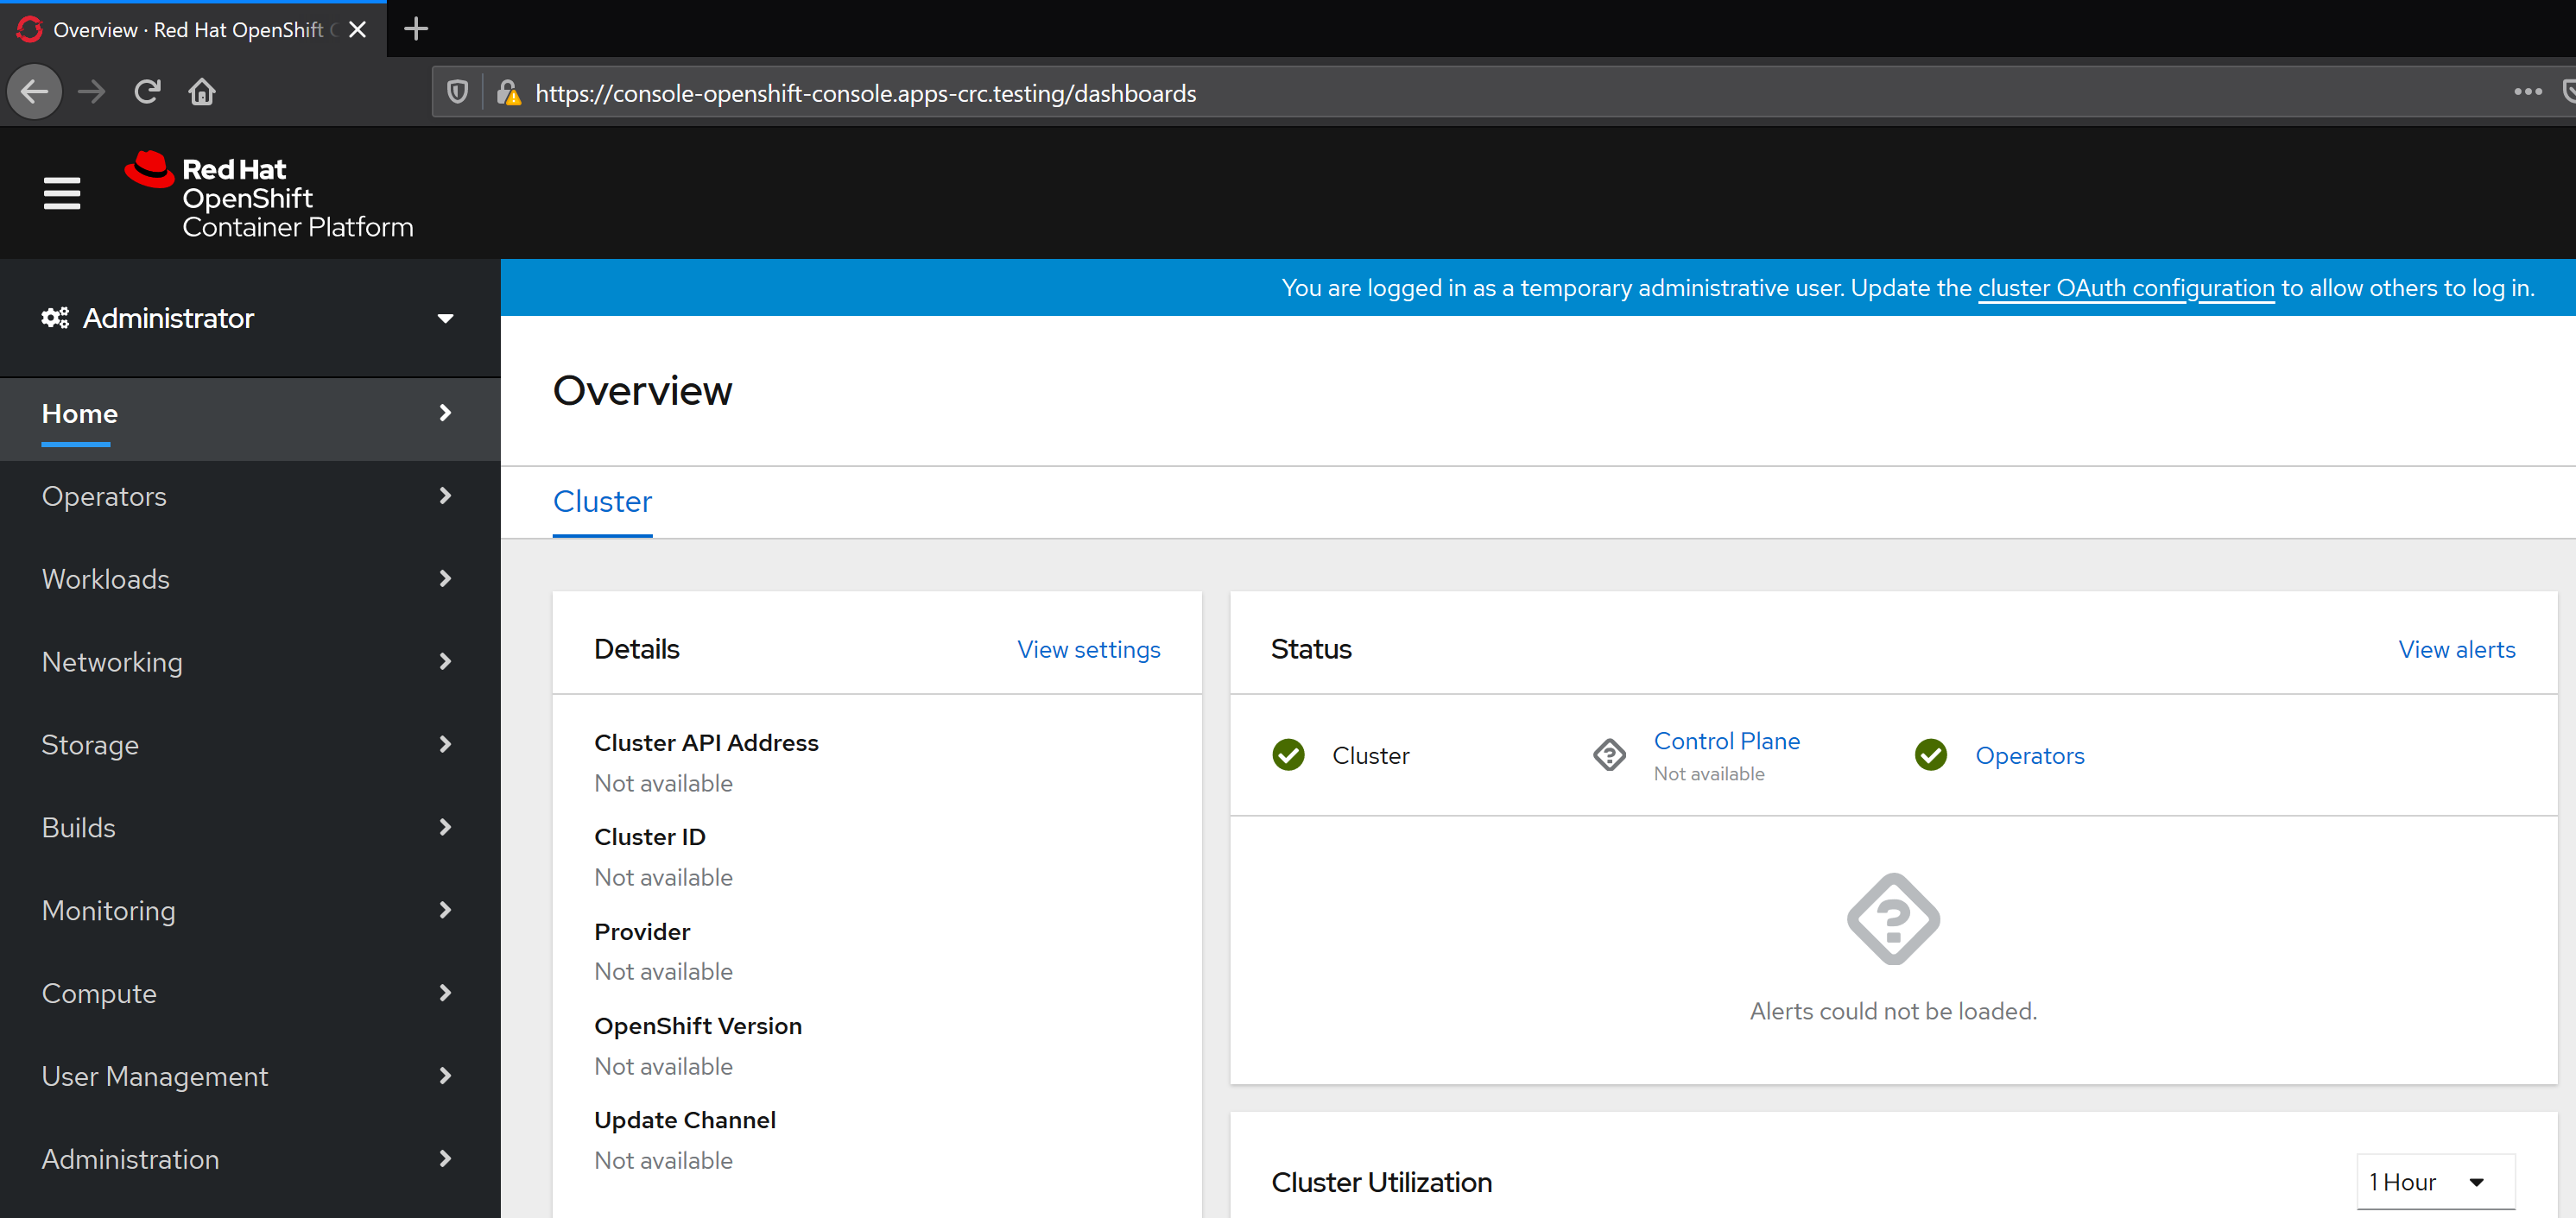
And sure enough - 'crc console' opens my default browser (Firefox) and the provided kubeadmin credentials allow me to login

Wrapping up
I wouldn't consider this a smooth, seamless experience. It feels like this particular deployment option is an after-thought (and possibly not even tested on Windows). Another compelling option for getting started with OpenShift development is the free starter plan which I may look into next. For some reason, I always default to the local installation option when trying out new development tools and mostly it works well. My laptop setup isn't that complex so I doubt that I'm some odd corner case. I suspect that the setup experience is better on a laptop running RHEL, or maybe even MacOS but I'm not going to spend any more time testing that.
I'll continue this experiment in a future post, hopefully I'll get an actual app deployed! In the meantime, post in the comments here if you've had any experience with a local OpenShift environment.
